


A few year ago, Ever bought His NSX. If you’re curious with how it all started, follow the link below. https://functiontheory.com/2018/06/new-supercar-experimental/
It is a great read, very personal, and also lots of photos.
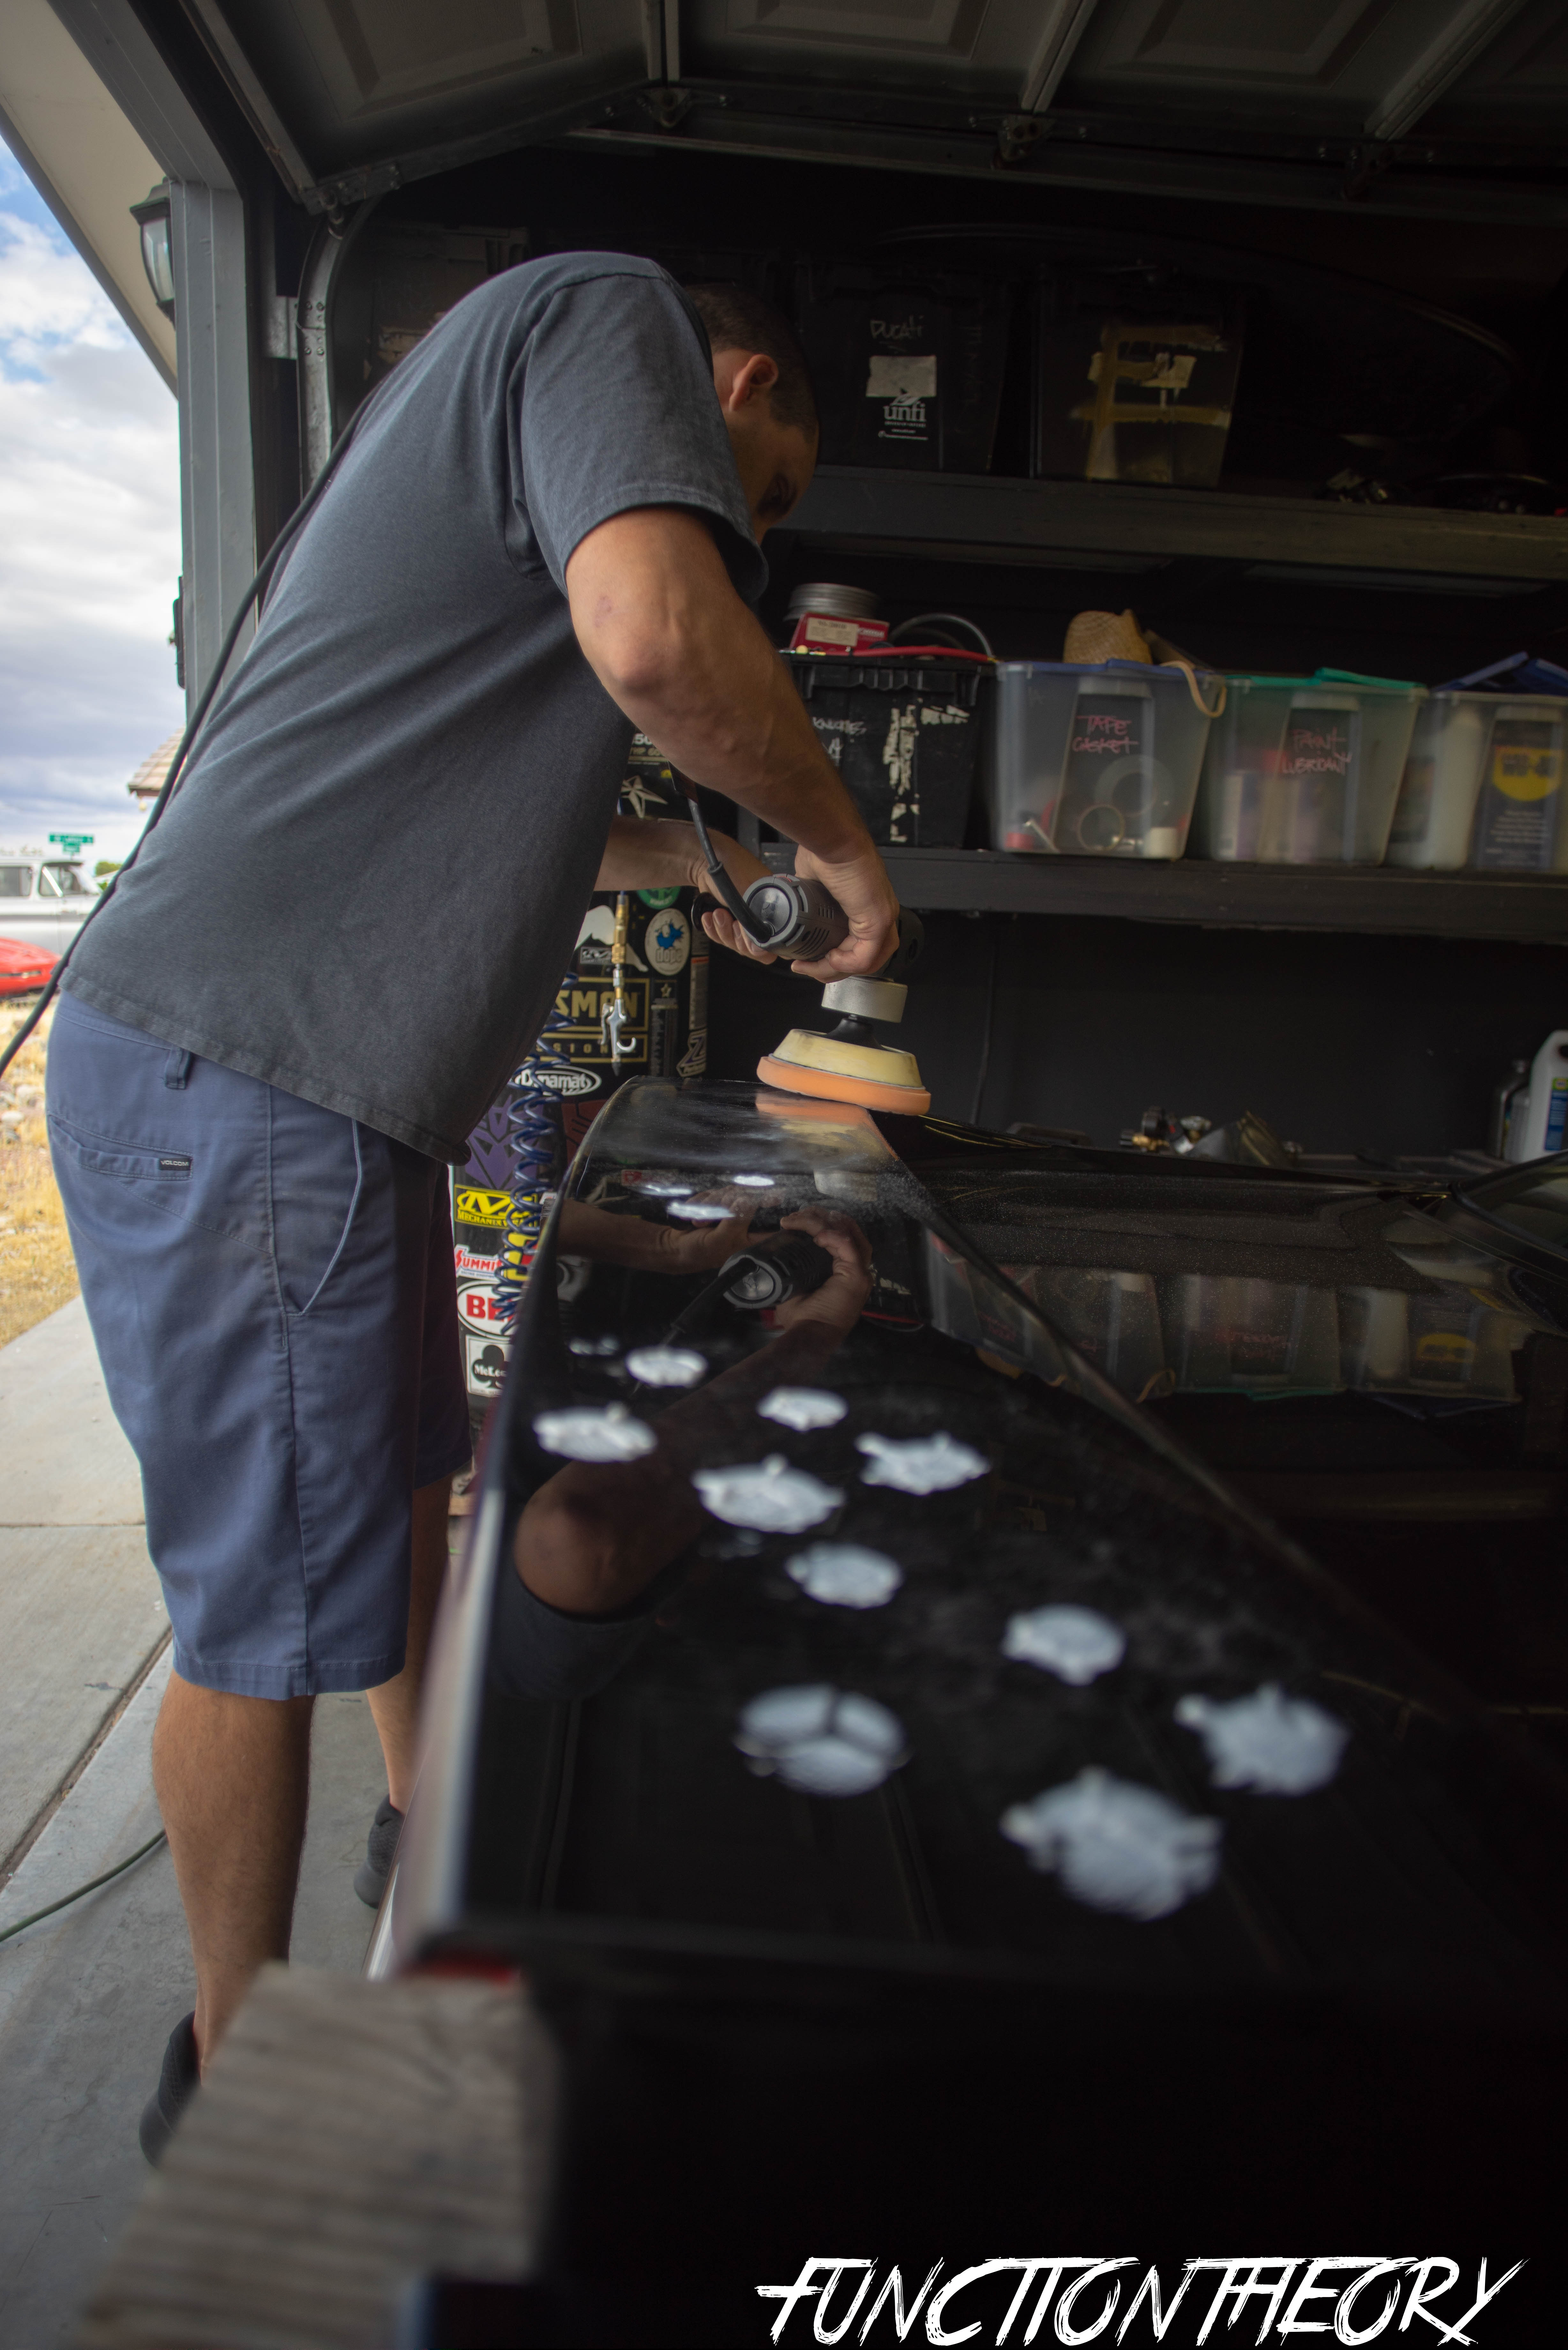
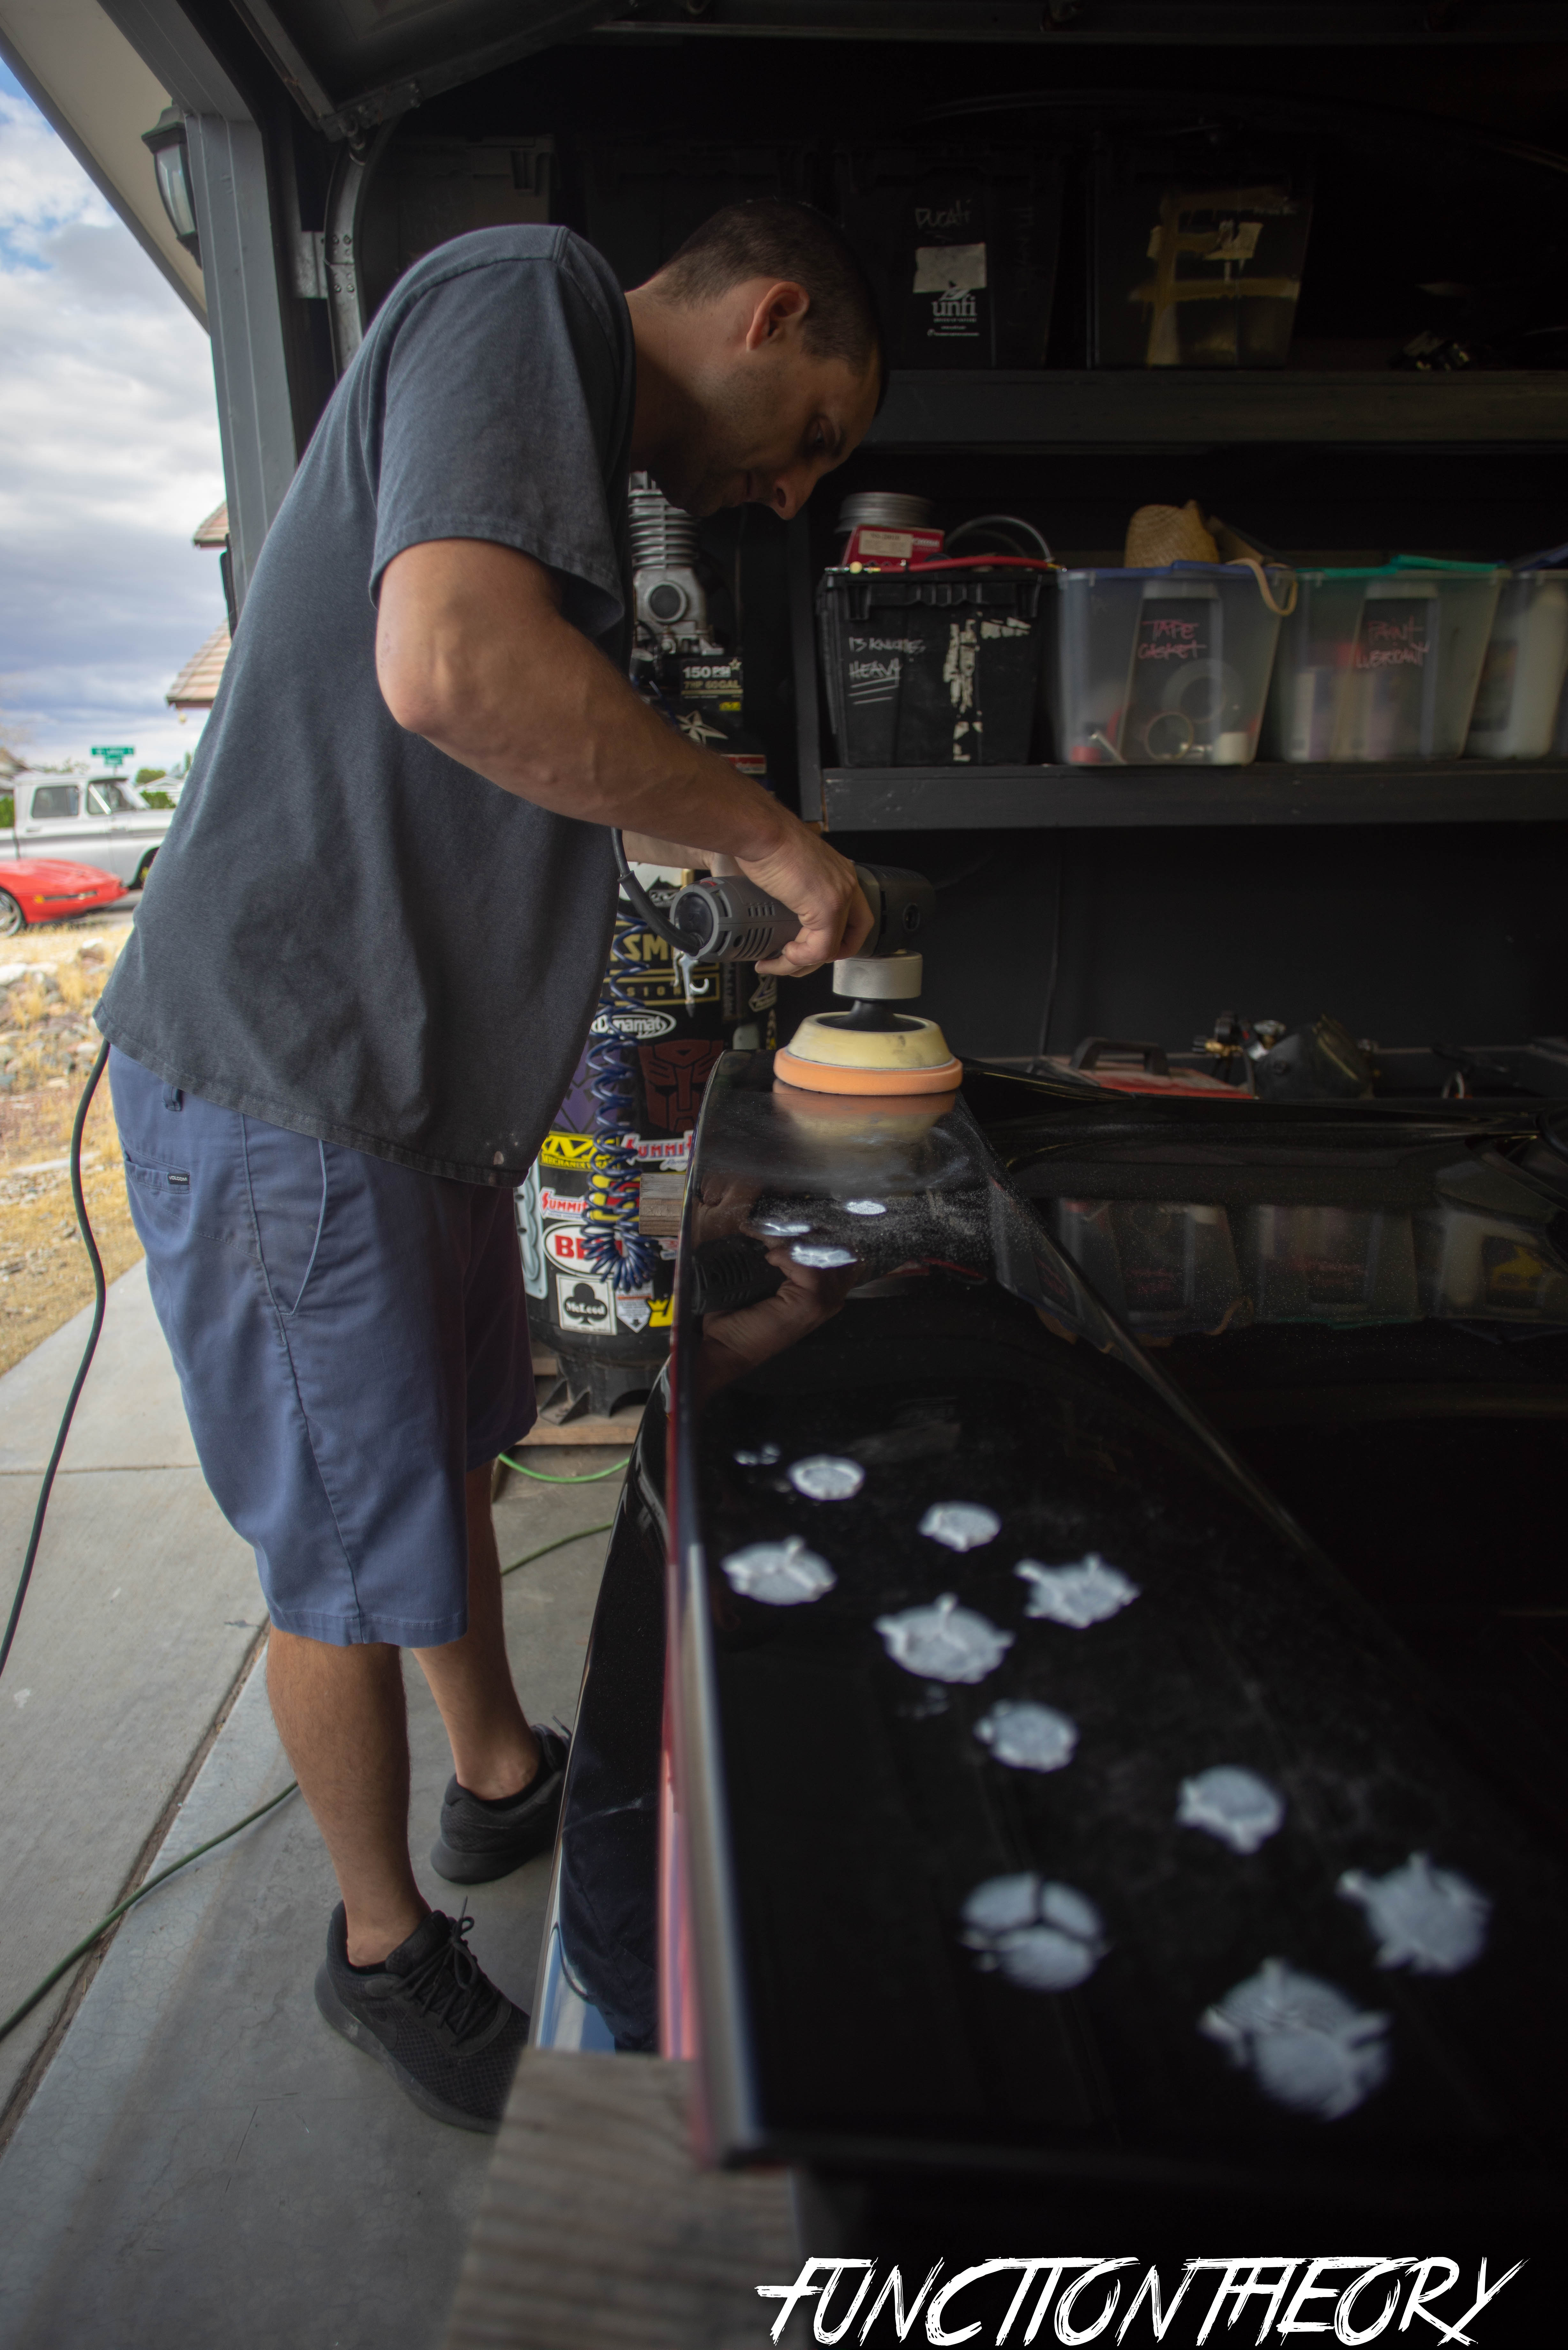
From day one, this car has been plagued with light surface scratches and swirl marks from years of hand washing. Most average consumers don’t know any better. Car wash technology and practices have grown leaps and bounds from what it was 20 years ago. Yes, there has always been a two bucket method for washing cars, not to mention pressure washers. Until recently, neither were ever mainstream or easily available. There wasn’t many companies out there making a business out of car wash products like there is today. Ever’s car having light scratches and swirls all over had always driven me crazy since the car looked amazing, yet still flawed. I knew that with a good detail, It would look 100 times better. I always like to make sure that my cars look as good as possible. I take pride in my cars. Not to say that Ever didn’t have pride in his car, he just lacked the know-how to give it the love it needed. I always wanted to detail his car for him. I knew I could make it shine. That nice deep black shine that it needed to complement the already beautiful car. I was just always a little unsure of myself and never wanted to take the risk in possibly ruining his paint. I watched many DIY’s and began experimenting on my cars, or other people’s cars that were less as exotic. I was able to get my confidence up high enough to want to actually pull the trigger and detail Ever’s car. One day I mustered up the courage to ask him if I could detail his car. I told him ” I promise I won’t mess it up, and I guarantee I can make it look better”. To my surprise he responded “sure!” he said, “I know you love that car too much to mess it up.” He was right! So he agreed to have me give it the full treatment. I started on the wing just to prove to him that I wasn’t going to mess it up, and show how much of an improvement there really was. The whole car took me about 25 hours to get all the way done and I took over a few weeks period of time, while working small sections at a time.
There are only pictures of me doing the wing, but you can see the actual before and after. Ever just wasn’t around any of the other times I was doing it to take pictures. I will, however go through step by step exactly what I did to get the car to look this good. I am also including pictures of products used and details how to use it properly. I will be as “detailed” as possible when describing each step because I myself know how frustrating it was for me when researching proper techniques for detailing. If you have any questions about anything in this article, please feel free to leave a comment and I will respond. Don’t be scared, that’s the whole reason for the blog, to help people as much as I can.
Below is how the wing started out. The steps in between, and then the finished product.


Here is everything i used.

Step 1
Wash the car. The best method is with a foam cannon ( which I don’t have, though would love to get ) the foam cannon will bathe the car in maximum sudage allowing the dirt to be absorbed into the bubbles so when you use the washing rag/towel it doesn’t scratch the dirt across the clear as much. You can also use a two bucket method where you have the soap in one bucket and then you have another bucket that you rinse the rag/towel in to get all the dirt off between areas of the car. This way you will always ( theoretically ) start with a clean dirt free rag/towel so you don’t keep smearing dirt all over your car which is what is causing the light scratches and swirls to happen, which won’t be happening since you are washing the dirt of into a second bucket instead of reusing the dirty water if you had only one bucket. You can also use a dirt trapping tool which a lot of companies now make that sits in the bottom of your bucket and allows the dirt to settle to the bottom, then every time you dip in the bucket it won’t allow the flow of water to go all the way to the bottom of the bucket so it won’t stir up the dirt. ( which is what I use )
Some people swear by professional “car washing specific” soaps, other people are content with just dish soap ( which is what most old school paint/body guys suggest ) whatever you use just make sure there is maximum sudage this will help trap the most amount of dirt, and make the barrier between the clear coat and the dirt.
Step 2.

Clay the car. A clay bar will remove any foreign contaminants that are on the clear coat. i.e. brake dust, sap, rust, small paint transfers. pretty much anything that is above the clear coat, thus removing all waxes and polishes from your car. You should always use clay lube with your clay bar. When you begin to clay, spray the lube on the bar and the area of the car you are working this will ensure the least amount of friction. You will feel resistance on the clay from the particles it is removing. You will know the area is done when the clay easily glides with no resistance. You don’t need to apply much pressure when using the clay bar this could cause some of the particle to actually scratch the clear, also periodically you want to flip the clay and kneed it in your hands to make sure that you are not using the same dirty spot all over the car. You must clay your car first or when you go to polish the car with the buffer you will just move the contaminants in the paint around causing more swirl scratches. Once done with a specific area just use a microfiber towel to remove the residue.
Step 3.

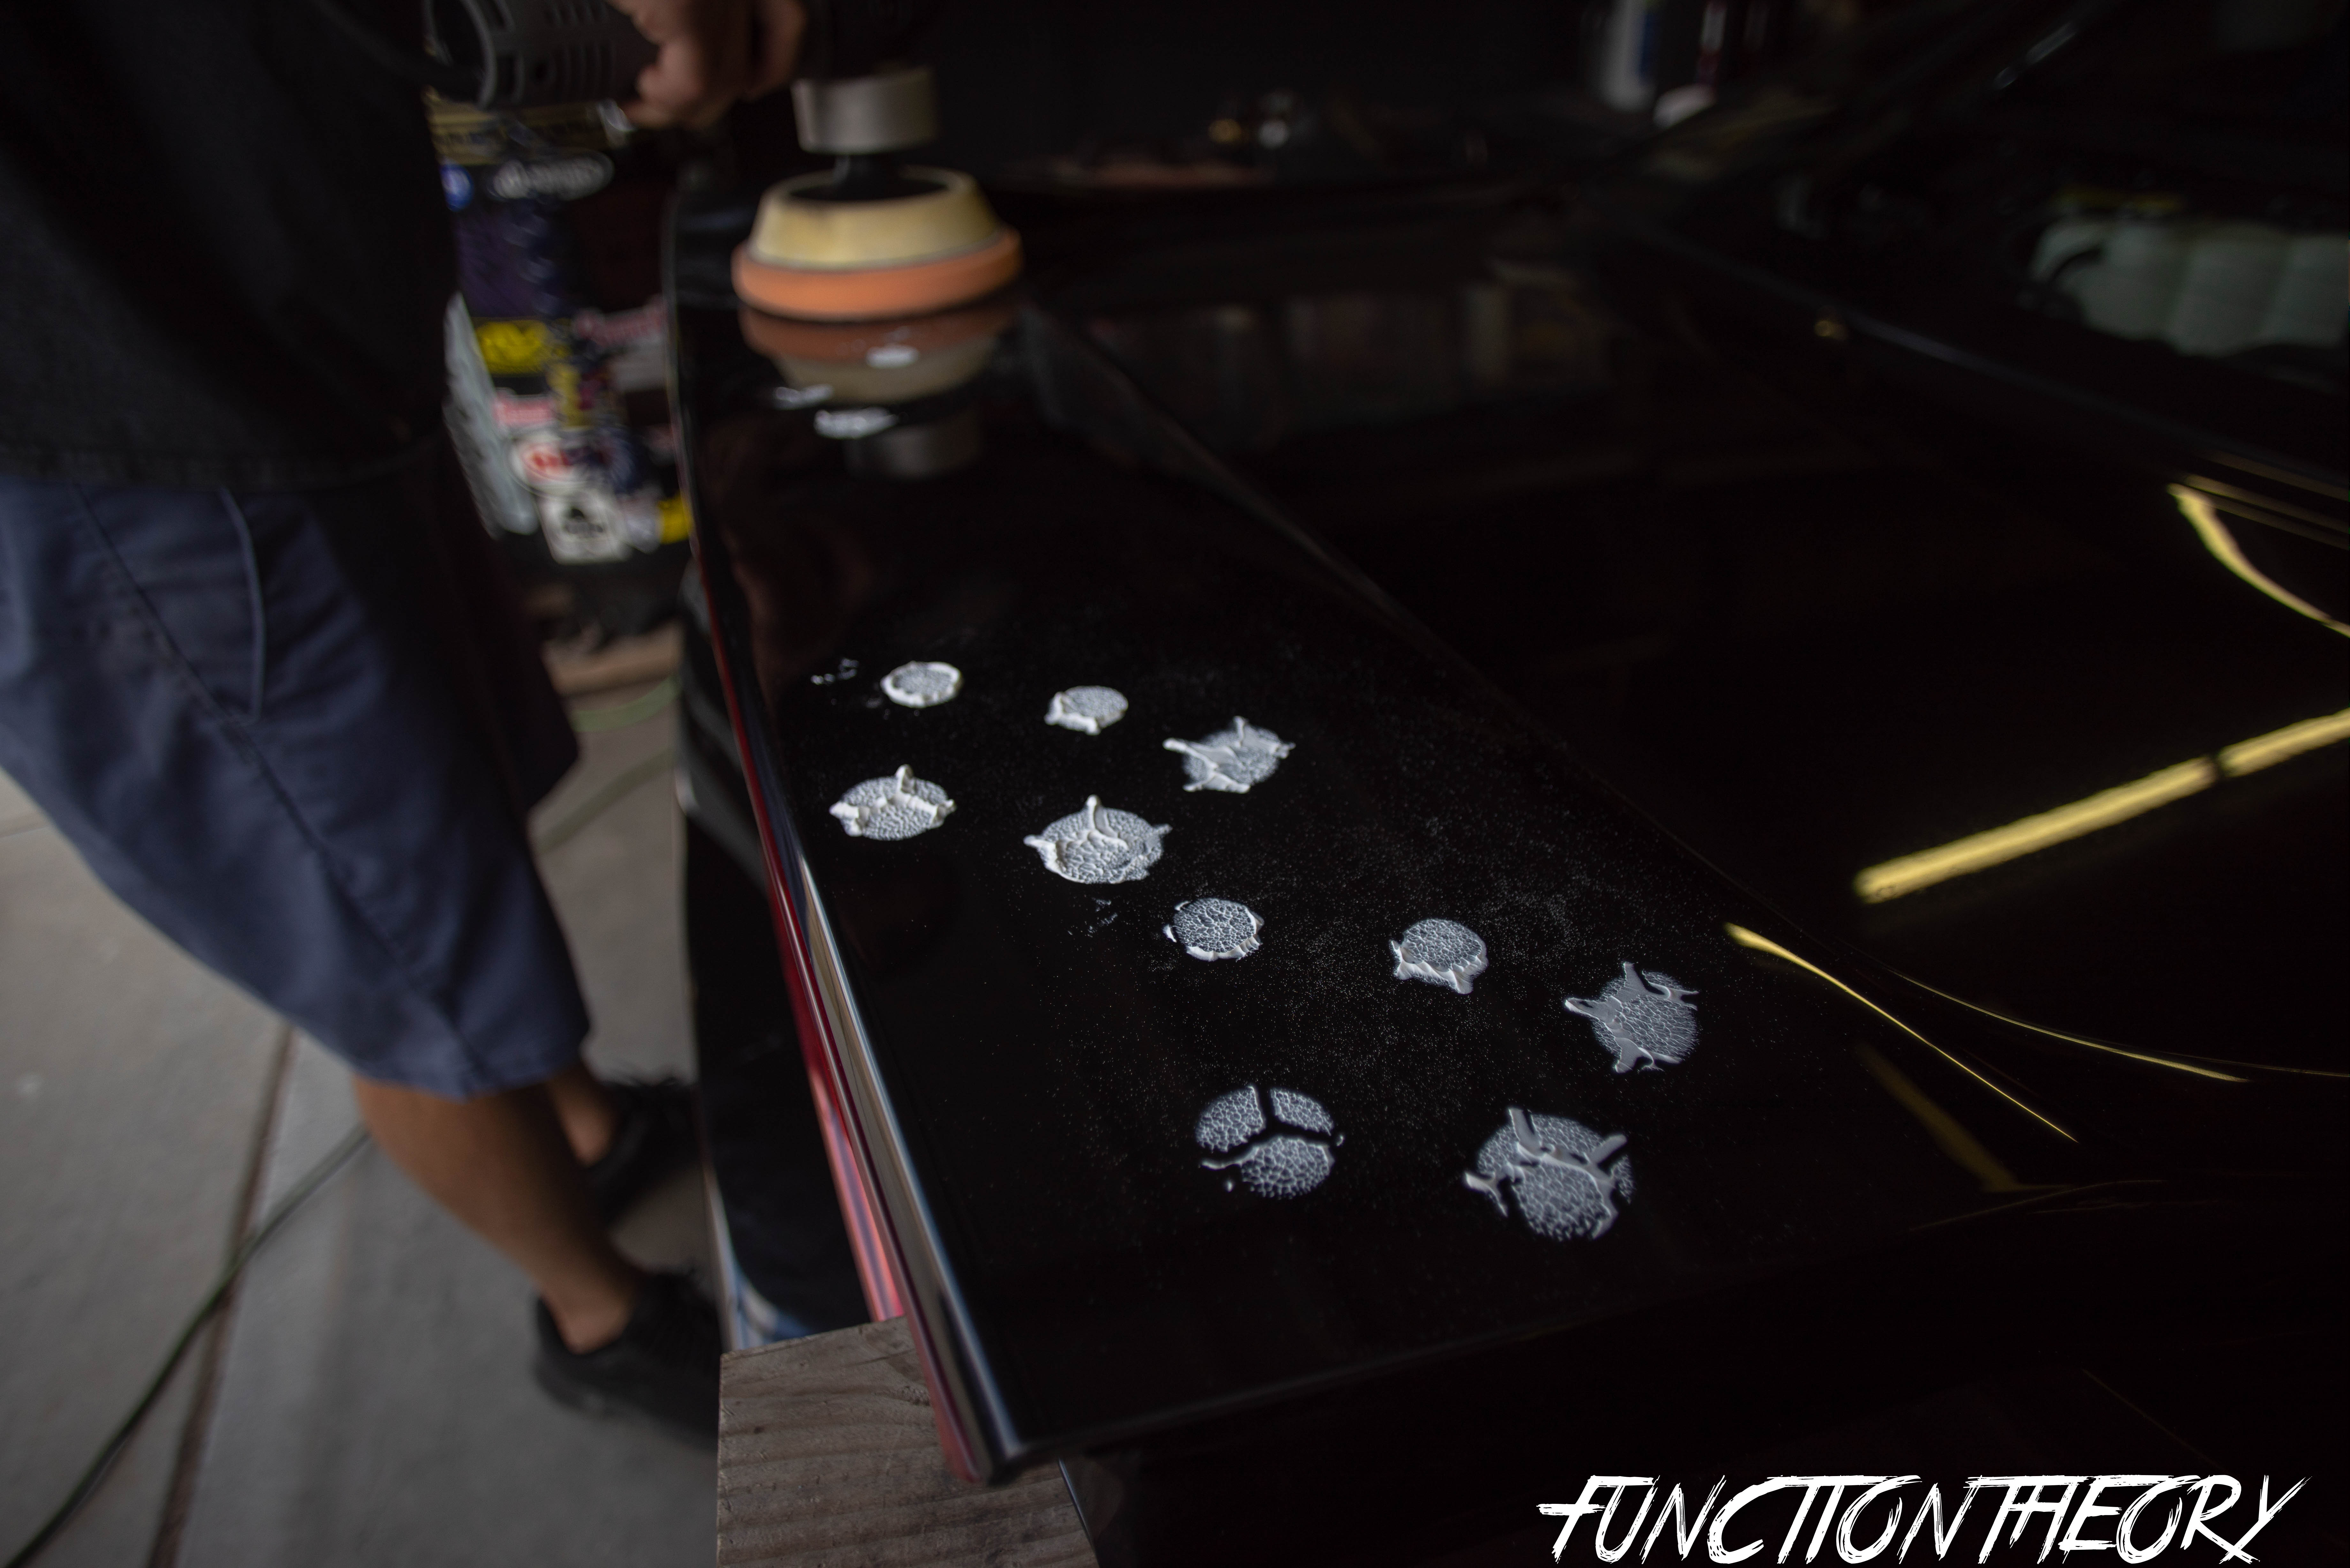
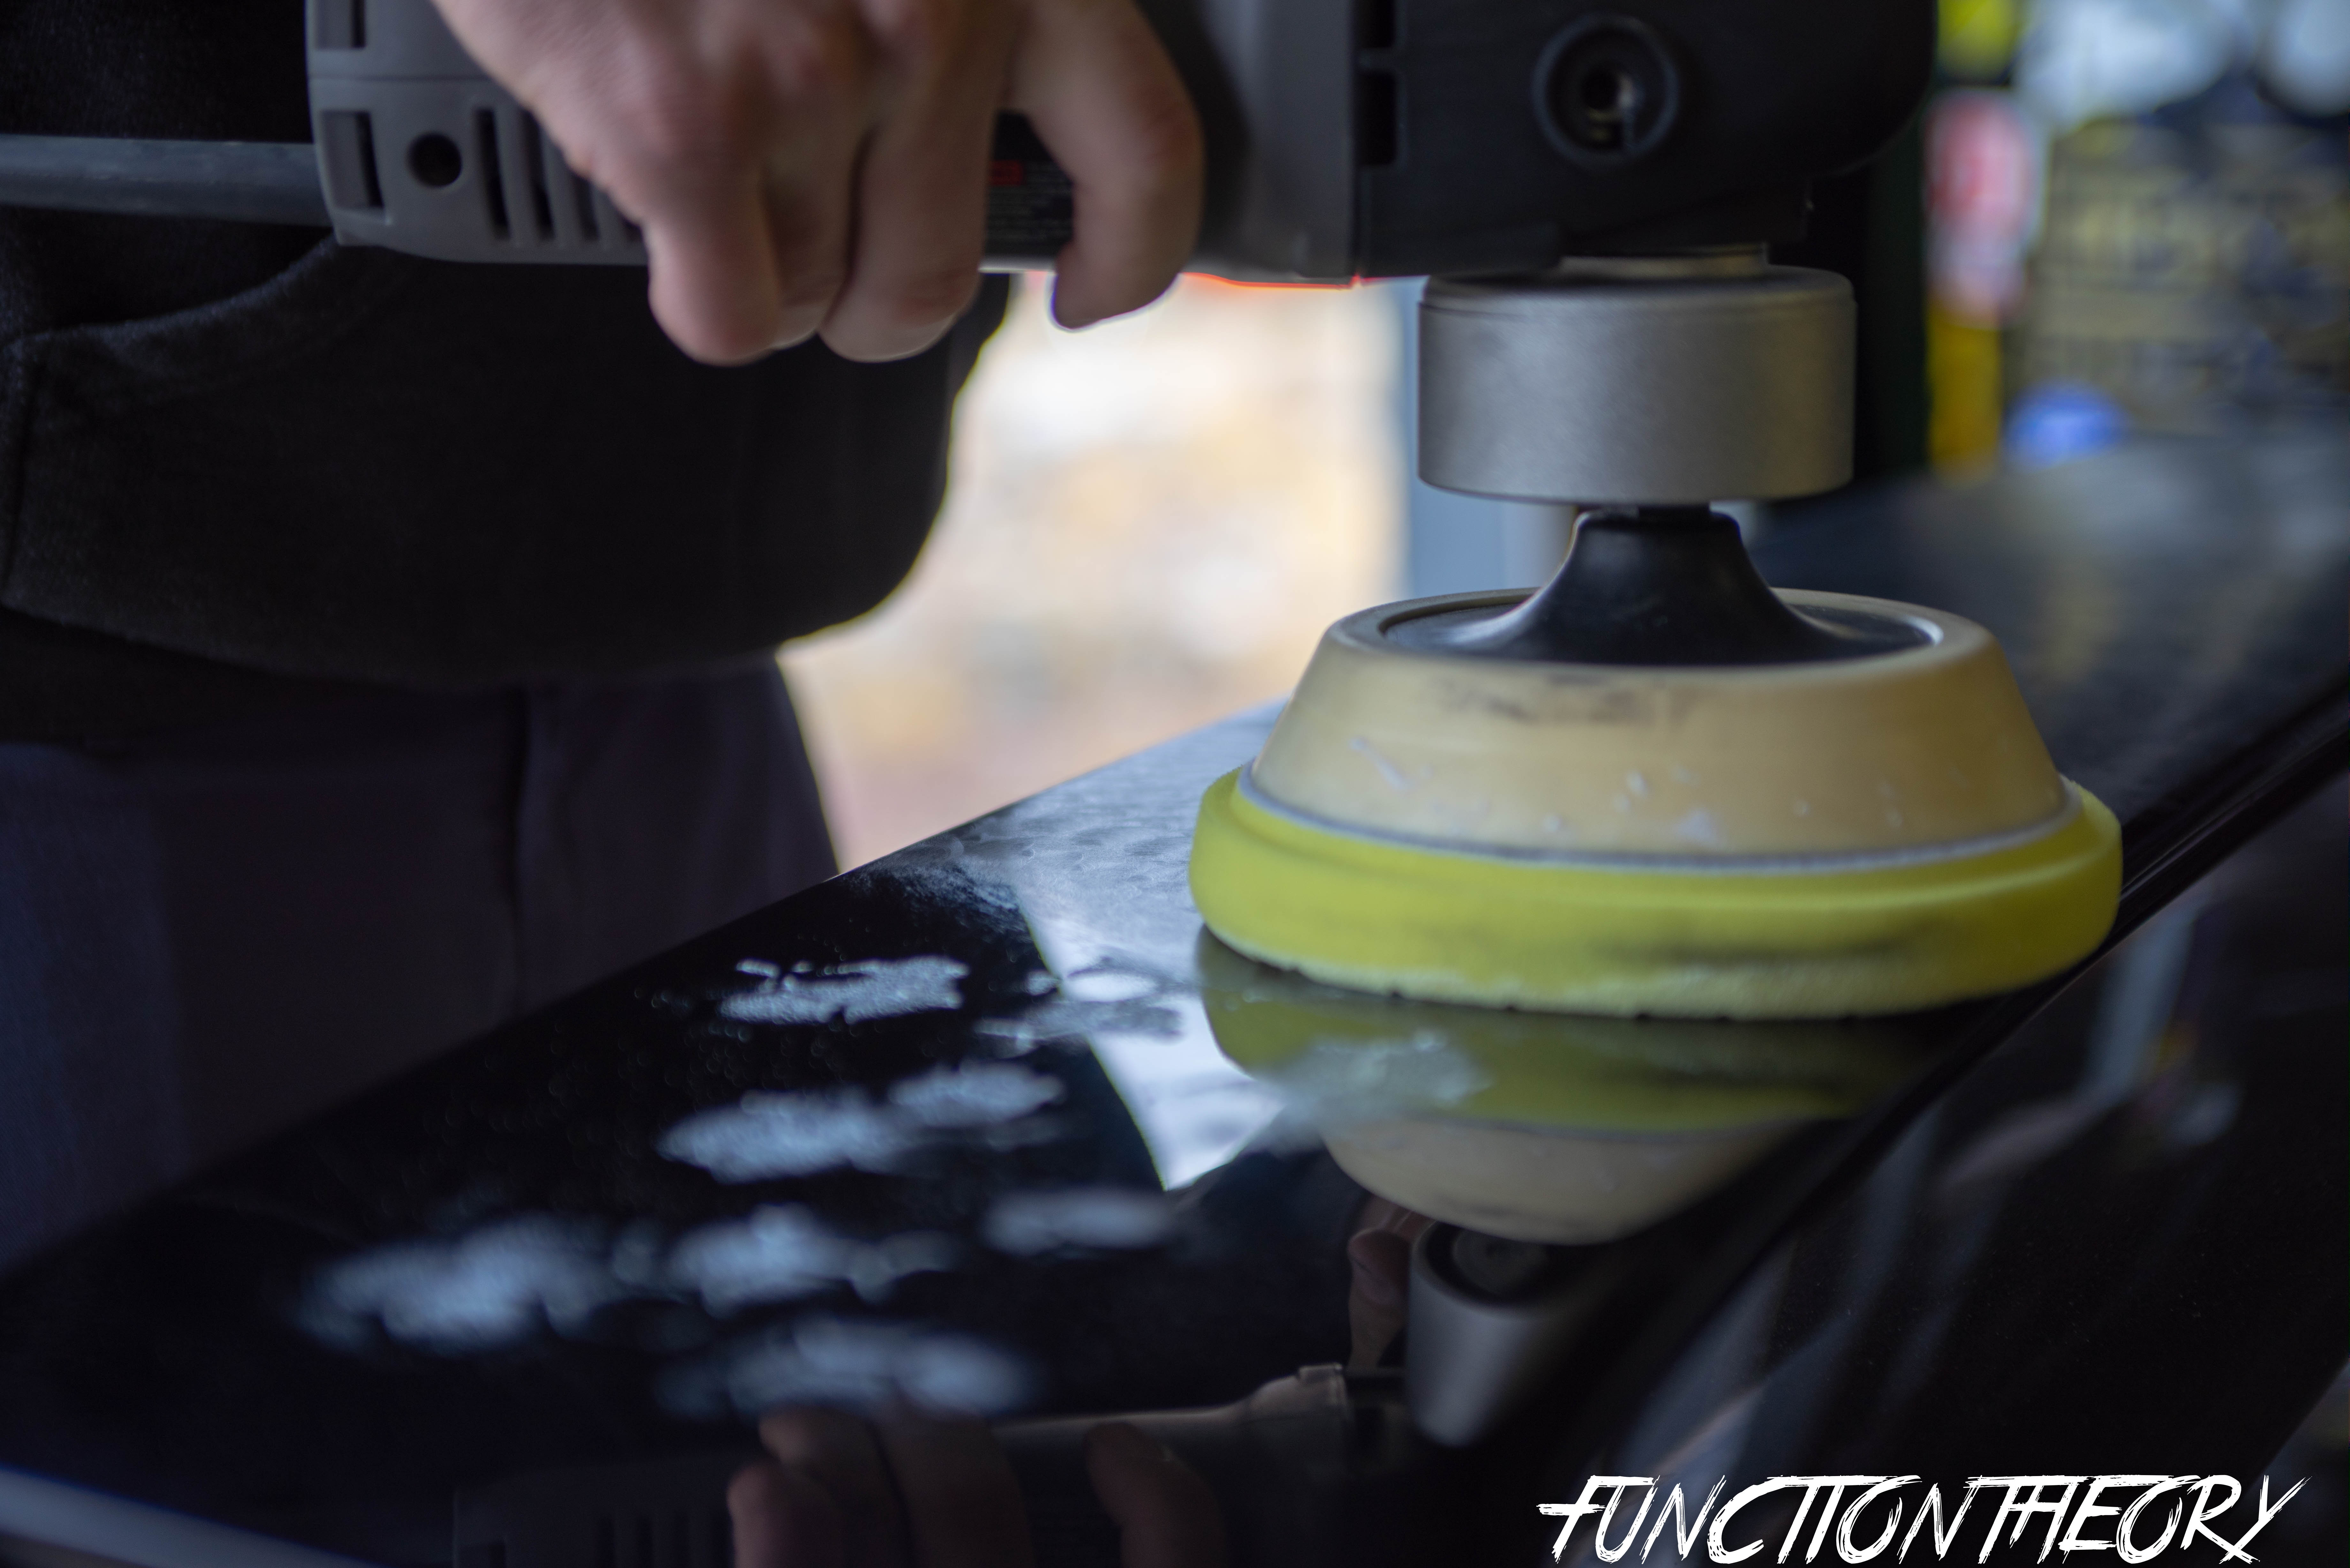
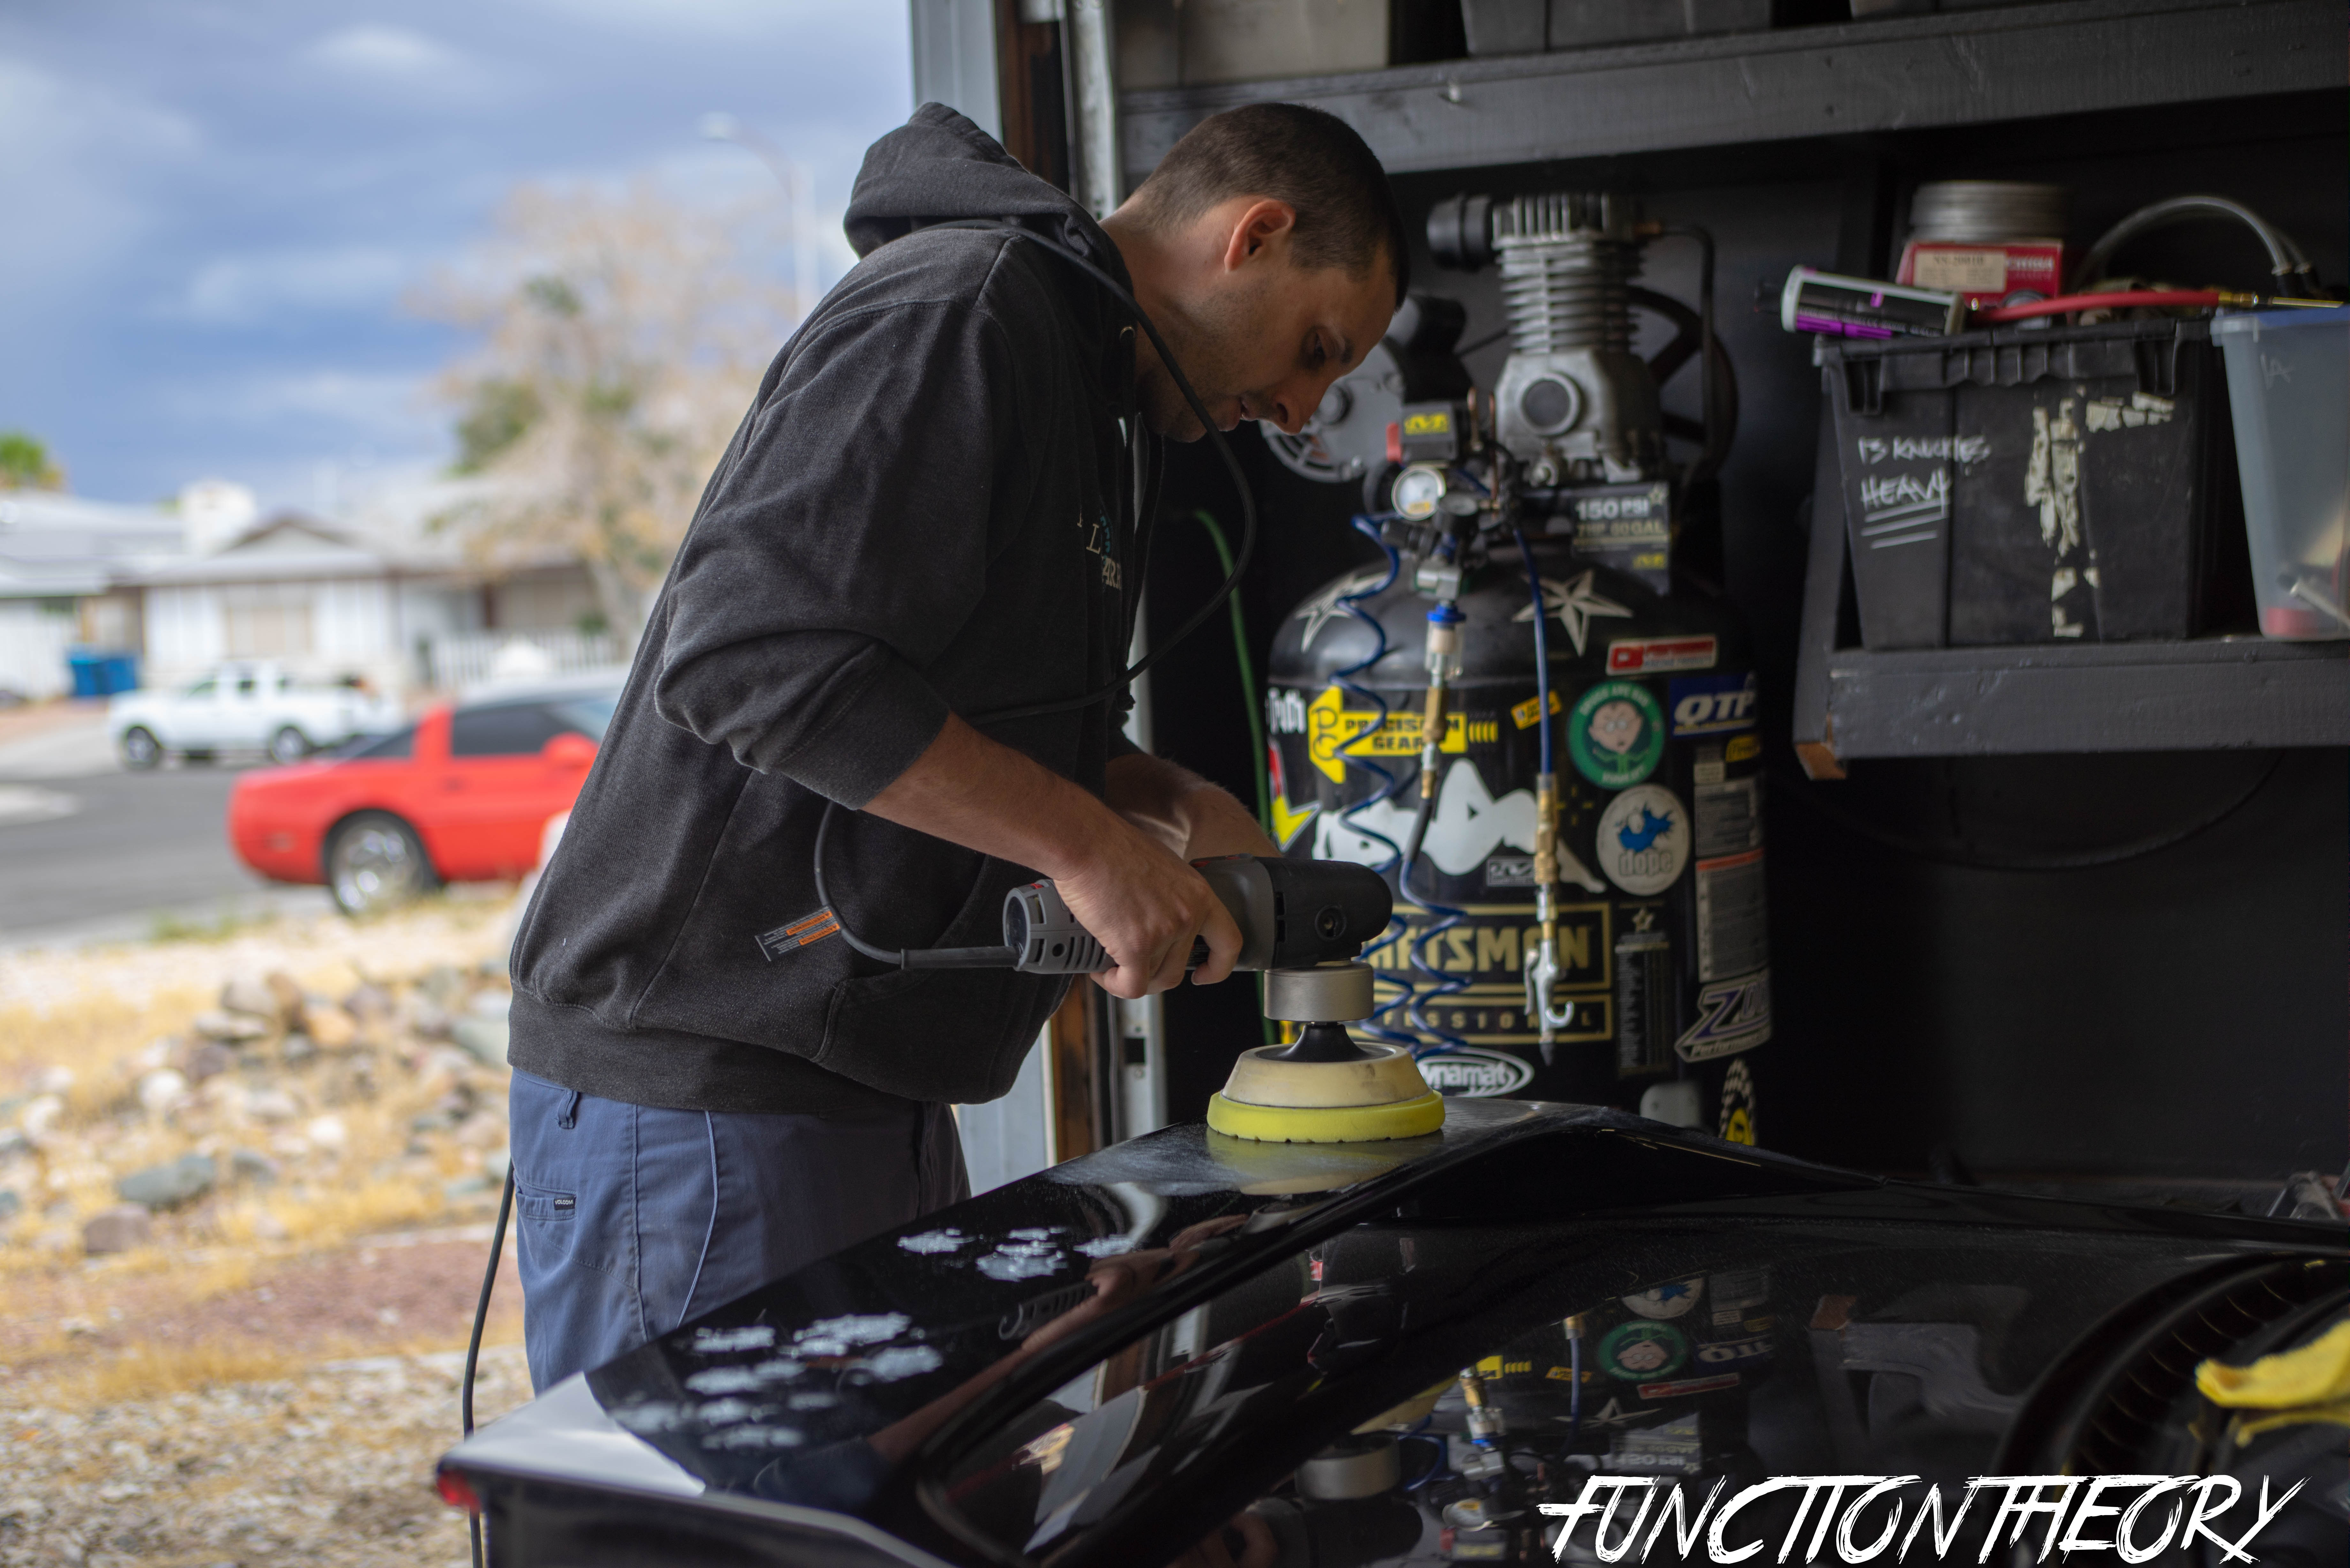
For the chemical guys system which i used, it’s very simple. you start with #32 compound and a yellow hex pad. Apply 4-5 dime sized dots on the pad and blot a few times on the area where you are working ( I suggest only doing one panel at a time, i.e. door, hood, fender, quarter panel, trunk etc…) using your DA buffer (dual action buffer) put the speed on low to apply the compound all around the area you are working, then move the speed up to 5-6, systematically going over the area you are working on. once applied all the way you are going to take a microfiber towel and remove the residue until its completely shiny, and with no resistance on the towel. (pro tip is remove the tags from the micro fiber towel as this can cause fine scratches)
You are now going to use the #34 hybrid compound and orange hex pad. you will apply this the same way as you did the #32 compound, and remove it the same except you will use a new/clean microfiber to remove the residue. This way you are not putting any #32 compound back on… It must be said that when using such harsh compounds you should be careful as it is going to start removing some clear coat. and these #32, #34 compounds should only be used on bad paint.
You are now going to move on to the #36 cutting polish with a green hex pad same exact method as the #32 to apply and remove, using again another new/clean microfiber to remove the residue. (pro tip, if you’re paint isn’t that bad you can just skip the #32, #34 and just use a Scratch and swirl remover then just start at the #36 polish.)
Finally on to the #38 final polish and white hex pad, same exact process as the first #32 compound. Again using a new/clean microfiber to remove residue.
Essentially you are applying 4 times and removing 4 times, you should have used 4 different compounds/polishes, 4 different color pads, and 4 separate microfiber towels. (unless your paint is ok then you are using a scratch/swirl remover, #36,and #38. so only three times, with three pads, and three towels ) This is by far the most time consuming parts since you are literally doing that the 4 stage process to all body panels of the car.
note that if the paint is good, you can just go straight to step 4, and just glaze, seal, and wax. the car.
Step 4.
Start with a glaze, we used the chemical guys black light glaze since his car is black. They also make a white light glaze for white or light colored cars.
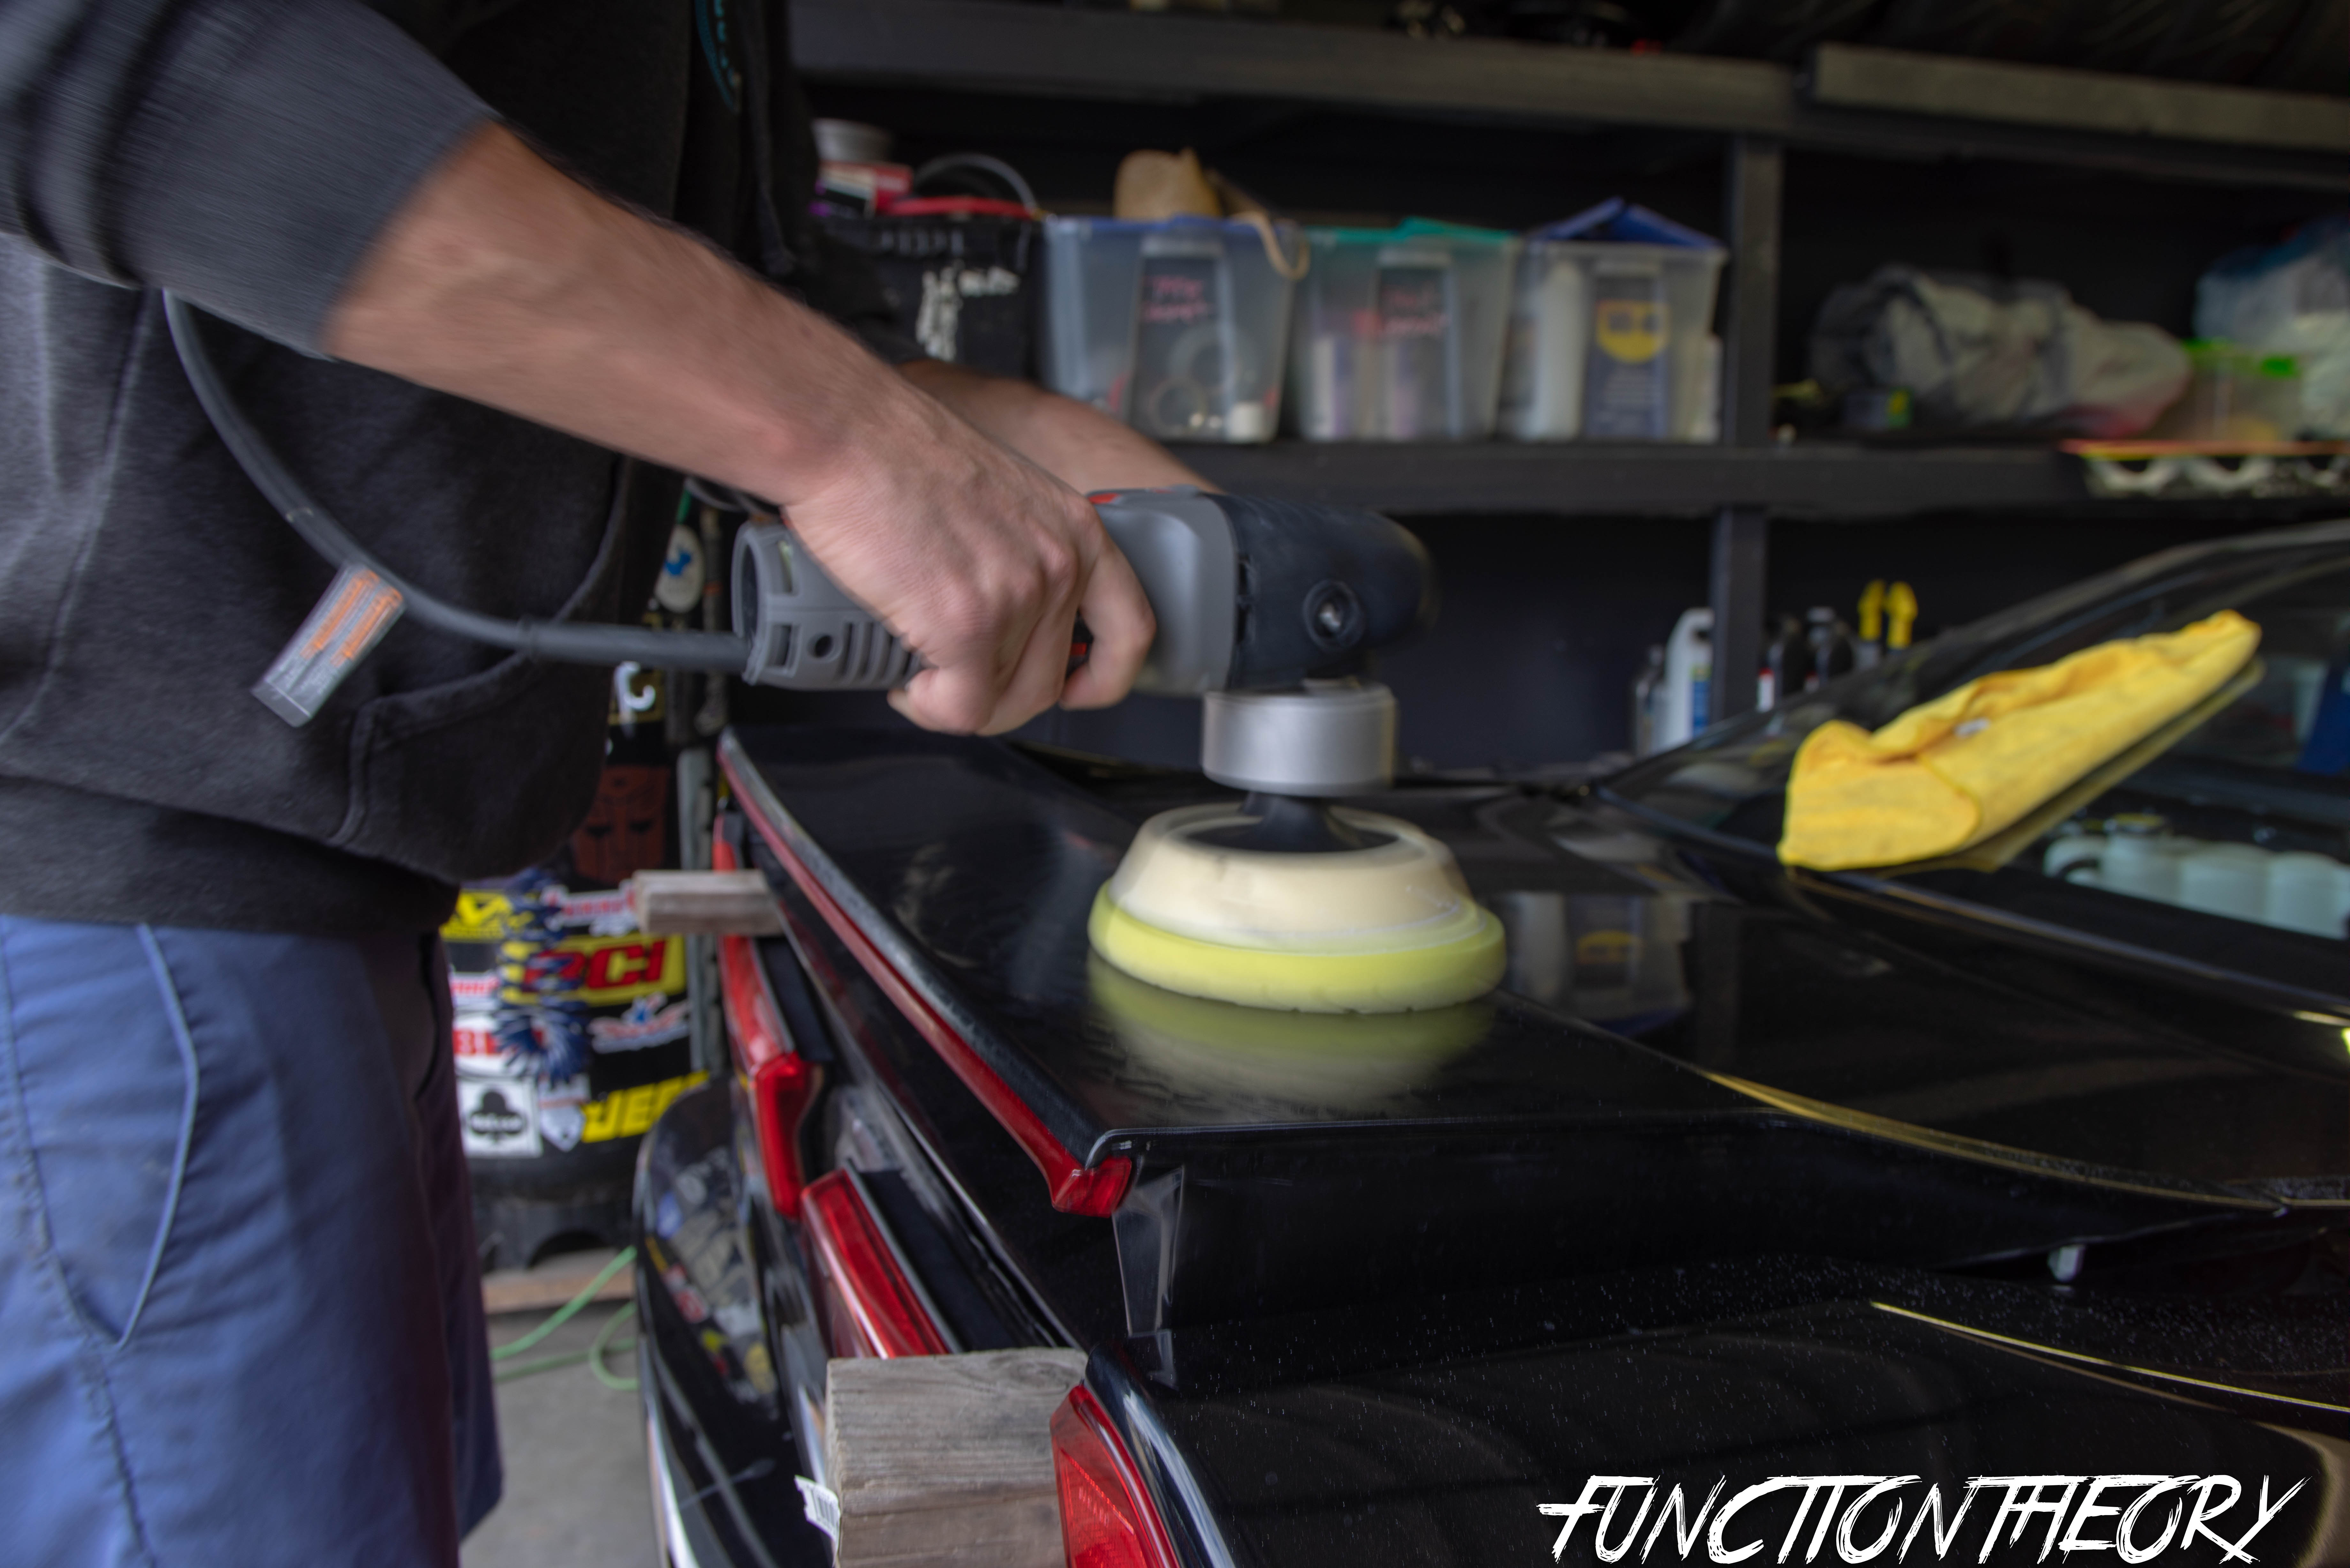
you will pair the glaze with a blue hex pad, and then you will do the same as previous steps. Start with 4-5 dime sized dots on the pad, blot in all over the area you are working, set the speed to slowest setting to spread evenly, then move to a higher speed covering the whole area you are working. now instead of immediately wiping it off (like the previous steps) you are going leave it set for 10-15 min until it becomes cloudy or opaque looking. Now you are going to remove with a new/clean microfiber towel.
On to the Seal, you will apply this using the black hex pad, the same was as you applied the glaze. 4-5 dime sized dots, blots around the area, low speed apply, then high speed buff, and let sit for 10-15 minutes to cure, then remove with a new/clean microfiber towel.
you are doing both of these to every panel of the car, and you should have used two separate pads, and two separate towels.
Step 5.

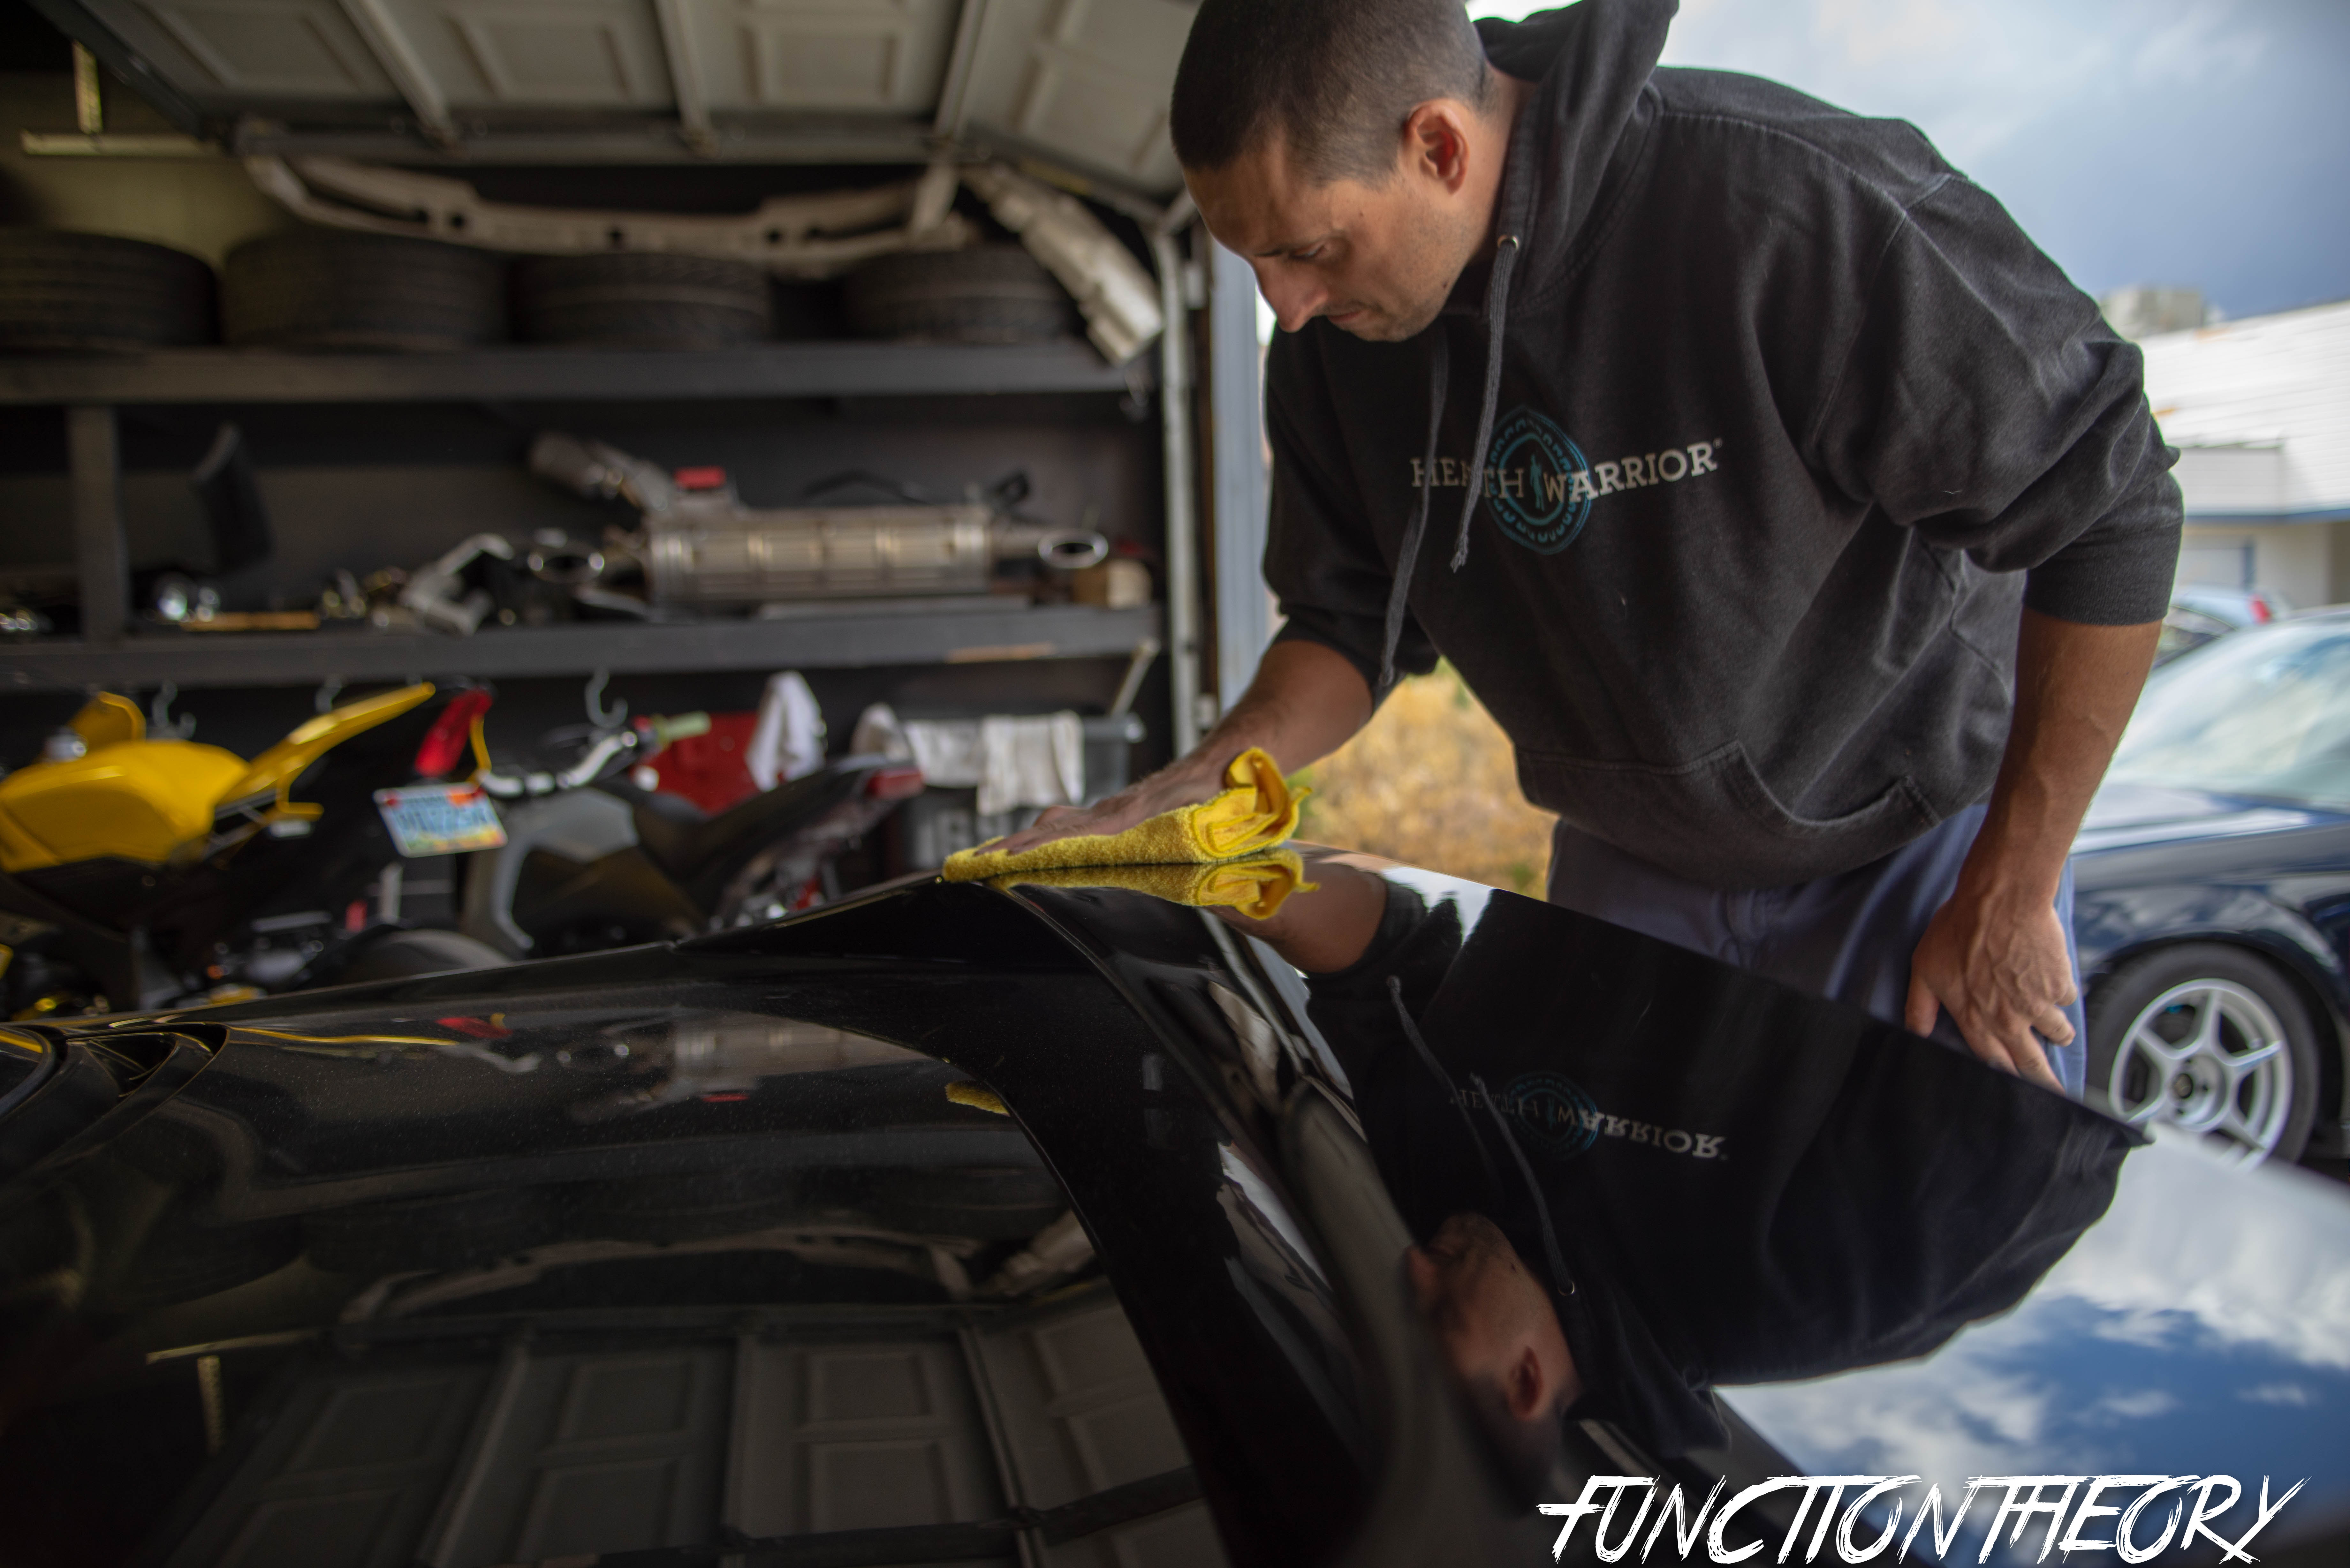
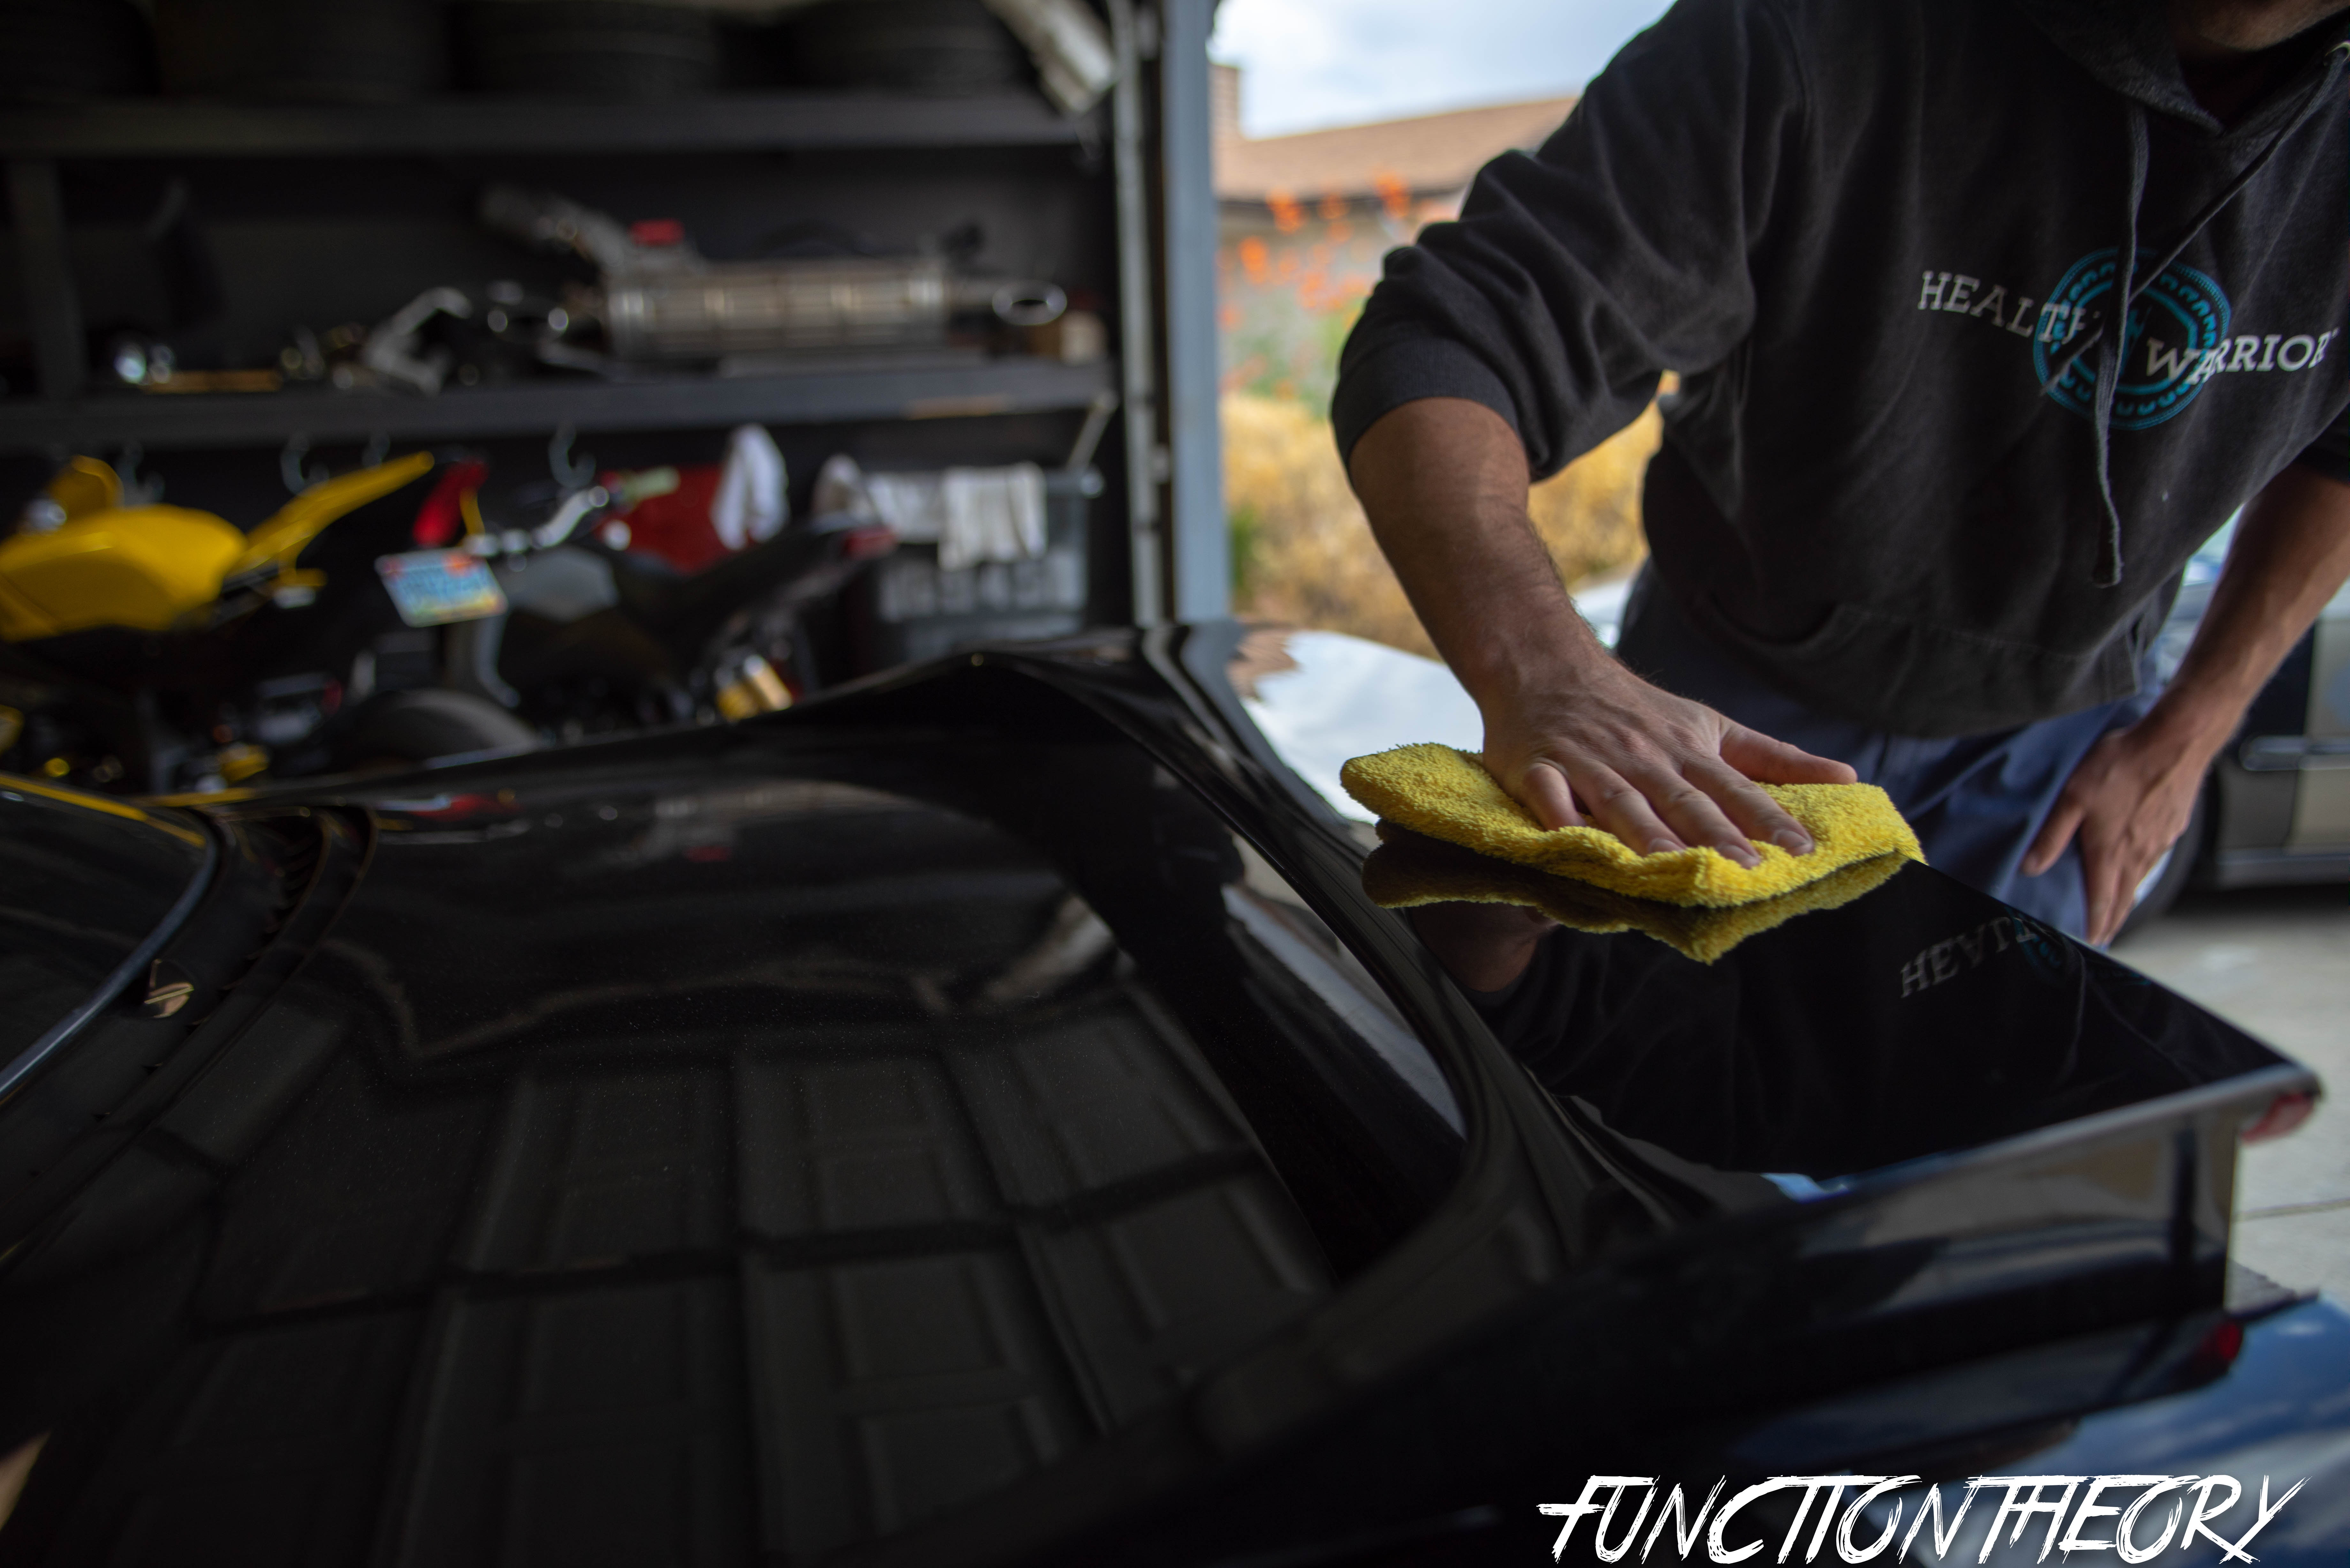
Waxing the car, use a microfiber applicator and you are going to apply by hand all over the car, starting at one side and working your way around. once you have made it back to where you started you are now going to remove the wax with a microfiber towel. ( pro tip, use the chemical guys “happy ending ” towel as there is no harsh edges or seams which can cause scuffs/scratches in the surface.)
Congratulations!!! you should end up with a finish like this.


however most new cars have some sort of orange peel which Ever’s car did not have. You can get rid of orange peel usually by wet sanding, or if it’s not that bad you can use an aggressive compound. but if you’re going to wet sand please make sure you do your research or you can really mess up your paint.
So a quick recap…
If the PAINT is BAD… you are going to use a compound ( chemical guys #32, #34 ) Then on to Polishing ( chemical guys #36 #38 ) Then Glaze, Sealant, wax.
If the PAINT is OK.… just use a swirl remover, then Polish (chemical guys #36, #38 ) Then Glaze, Sealant, Wax
If the PAINT is GOOD, just use Glaze, Seal, Wax.
To maintain the look of the car you can use a quick detail spray and apply with a microfiber after each wash.
You don’t have to use chemical guys stuff, there are many other companies that provide all the same stuff. as long as you start with a compound ( the abrasiveness depends on your paint condition as covered above), then polish, glaze, sealant, and wax. I just used the chemical guys stuff because there is a store near me, their numbered bottles make it easy, and there is a bountiful amount of how to’s for each one of their items so you can know you are doing it the correct way.